Showing posts with label crafts. Show all posts

Thursday, November 19, 2015

30 Days of Star Wars: May the Cross Stitch Be With You

Next to sewing, cross stitching is one of my favorite craft activities. Unfortunately, I've been so busy the past few months that I haven't had a chance to make one. But after checking out these Star Wars cross stitch patterns, I might have to set aside some time for these. 
Star Wars Alphabet from weelittlestitches

BB-8 from The Fig Tree Studio

I Love you. I know. from StitchLine

It's a Trap from DisorderlyStitches

 
Let the Wookie Win from StitchBucket

Wednesday, November 18, 2015

30 Days of Star Wars: Creating my R2-D2 Costume: Part One

I'm currently taking a costuming class at my local community college and our final project is a costume of our design from our chosen era. Since I knew I wanted to make a new costume to wear for Star Wars, I decided to make an R2-D2 costume, re-imagined in the 1950s.

Upon talking to my teacher, she pointed me in the direction of researching sci-fi films from the 1950s. Here are some of my inspirations for the costume. Once I have it finalized, then I can do the fun part, looking for the items to create it!


Saturday, February 23, 2013

Crafturday: Glitter Covered Pencil Holders


This year, I'm making an effort in being more neat and organized and one place I started is my desk. I got rid of the various mugs I was using for pencil/pen storage and wanted to make the canisters I was keeping look more uniformed. Originally I was going to spray paint the canisters gold and that was it. But then I remembered I had some glitter and Modge Podge and decided to sparkle them up even more. This is probably one of the simplest ways to make your various pencil/storage holders look more uniformed. 

Materials:
  • Canisters of various sizes 
  • Modge Podge and fine glitter in any color or Krylon Glitter Spray
  • Foam brush and bowl
  • Spraypaint 
 Directions:
  • Clean canisters to get rid of dirt and dust.
  • If you don't want glitter inside the canisters, spraypaint the insides the same color as the glitter. Or you can even use a contrasting color.
  • Spraypaint the pieces. Use a light coat of paint and let dry between sprays so it doesn't run. (If you use the Krylon Glitter Spray, let dry and you're all done!)

  • If you plan on using Modge Podge and glitter, it's pretty easy too. Use equal parts of both, mix with the foam brush and paint on the canister. 


There's nothing else to it. Give it a few hours for it to dry and you now have brand spanking new holders for pencils or anything else you want to put in them.


Saturday, February 16, 2013

Crafturday: Lace Doily Collar

As a way to get back to blogging on a regular basis, I decided to start this weekly post. I love doing crafts, ever since I was a little kid. However, for the past few years I stopped making things and let my crafting supplies languish in my room. But in the past few months, I've been tapping back into my cratfy side and I want to share some of the projects I've been doing lately. 

This first project is a fairly easy project. No sewing machine required. In fact it can be a no-sew project if you want. 


Lace Collar Tops


Although lace collars have been around for the past few seasons, I can't get enough of them. I think have 4-5 of them sitting in my closet right now. But acquiring them can be costly, so here's an easy and inexpensive way to make your own with items you can find at the thift store or in your own closet.

Materials: 
  • Top or Sweater - you can use almost any neckline. Just make sure you have enough of the doily to cover a good portion of the top/sweater. 
  • Doily (or lace)
  • Fray Block
  • Needle and Thread (or fabric glue)
  • Straight pins
  • Sicssors  


 Directions:

  • Cut the doily in half. Note: The doily I have pictured below is the one I ended up not using when I realized I cut in half the wrong way. Oops! Luckily I had another one on hand I used pieces from the botched doily to make it longer. I also plan on using the scraps for another project. 
  • Take the fray block and run it against the cut portion of the doily.

  • Use straight pins to pin the doily to the collar area of the top. This is a good way to make sure the doily ends are centered in the middle.

  • Sew the doily to the top. Depending on what kind of doily (or lace) you use, you might need a sewing machine. I was able to hand sew on every top circle area. 


There you have it, a brand new lace collar top to wear! Check back next week to see another Crafturday project. 


Thursday, November 3, 2011

Whovian Wednesdays Bonus Post: My TARDIS Costume

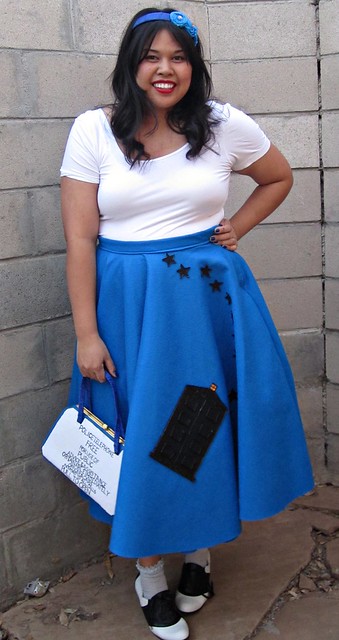
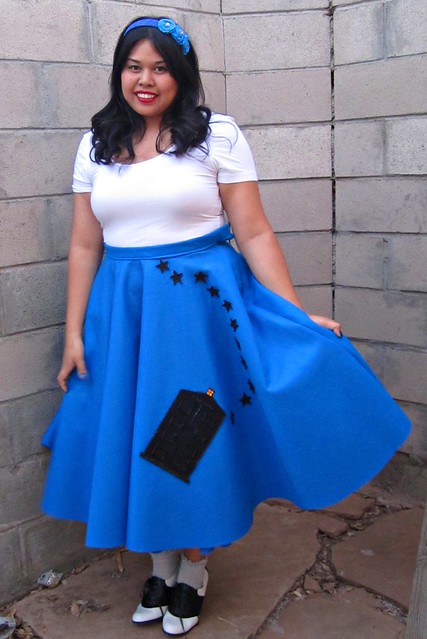
 TARDIS Costume_6
Top: Old Navy
Skirt and Headband: Self-made
Purse: Thrifted and re-worked
Socks: Target
Saddle Shoes: Bass
TARDIS Costume_3

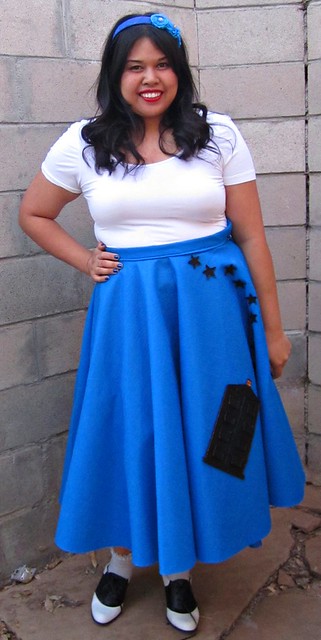
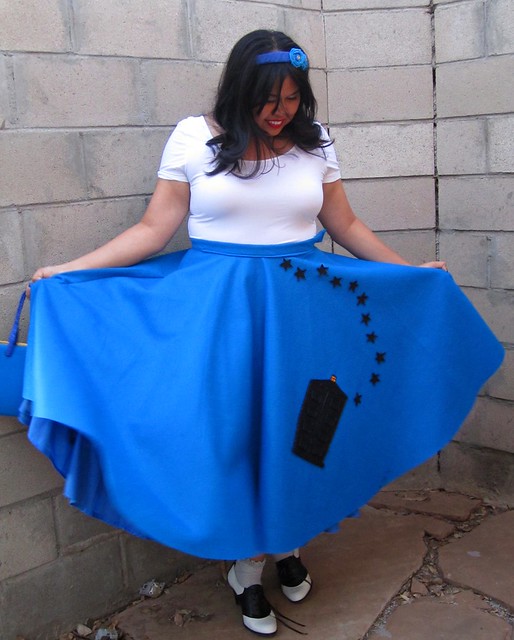
After many hours and a some revisions, here is what I wore for Halloween, my 50's inspired TARDIS costume. The skirt wasn't too hard to make besides having to sew the zipper which I'm still a novice at, but it was everything else that took a lot of time. The petticoat was the most time consuming, having to sew the rows and rows of tulle, but I like it much better than having to buy one. 


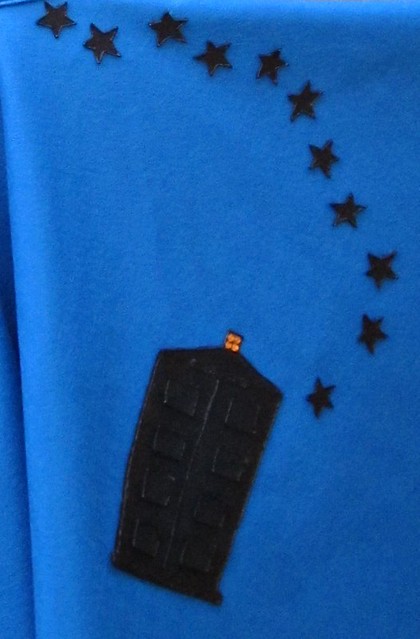
Then it came to how I was going to decorate the skirt. At first I wanted it to be like the TARDIS with panels on the front of the skirt. Instead, I decided to make a mimic the poodle appliques that usually are on a skirt like this. I made a TARDIS applique and had eleven stars following it. The stars represent the eleven Doctors.

TARDIS Costume _1

TARDIS Costume_5

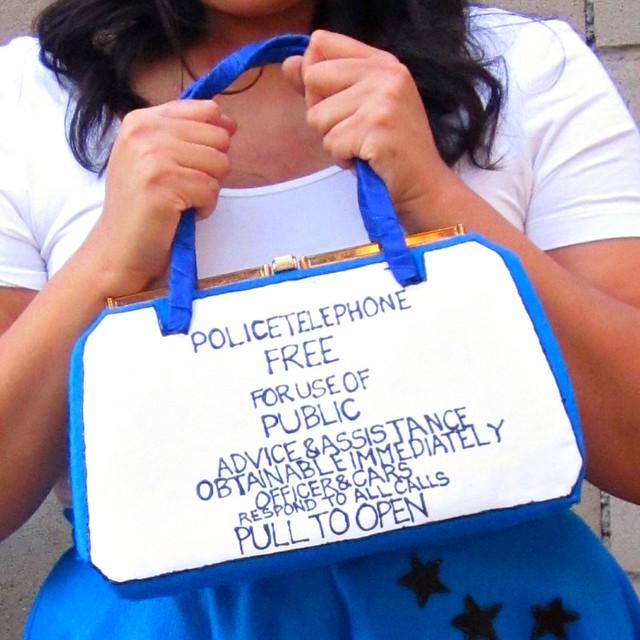
I tried making two different type of light toppers for my head, but I wasn't feeling them. So I made some flowers out of the leftover felt, covered it with glitter, and yellow gems on the center part. The final thing was this purse made to look like the Police sign. I took a plain structured bag and covered it with felt and wrapped the handles with ribbon. I then took some white cloth to write out the sign. 

TARDIS Costume_7 


 TARDIS Costume_2
Overall I really like the way it turned out and now I have a costume I can wear to conventions. I'm also thinking of sewing up another skirt, perhaps a Guild version.

I also wanted to mention that I am the new Admin for the Tumblr site Matt Smith in Places He Shouldn't Be. It's the same as the David Tennant site, but with the 11th Doctor. The site has changed a lot of hands since it was created last month, I'm their third Admin, but I'll be there for the long haul. So follow me there and you can always submit things to the site.

Tuesday, October 11, 2011

Craftastic

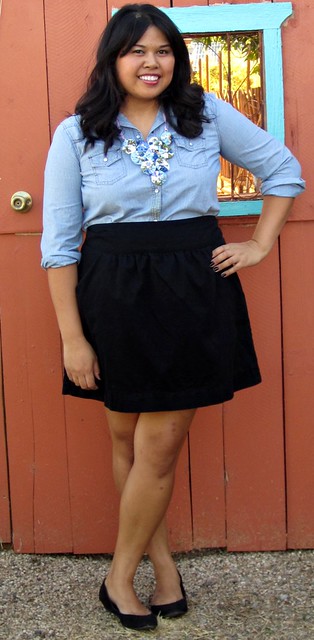
whatiwore.10.11.11
Denim shirt and skirt: Old Navy
Necklace: handmade
Wedges: Payless

whatiwore_10.11.11_2

whatiwore.10.11.11_3

For this month's Everybody, Everywear it was all about the D.I.Y. and mine happens to be my necklace, one of the many things I have made over the summer. My whole room is one big craft corner right now with the current project being my Halloween costume. It's turning out really good so far, so I can't wait to get finished and show it to everyone. 
It's also the first time in a week that I wore something that wasn't an t-shirt and pj shorts. I tried doing the dress nice even if you are staying at home thing but in reality, I would much rather stay in my pjs all day than don fancier things. Especially if I'm going to be at home all day.  Let's just hope I'll something secured up during the holiday season where I don't look like I've been wearing the same geeky tee for the past 4 days.

Head over to Everybody, Everywear to see how my fellow bloggers channeled their inner craftiness and check out my tutorial on how to make the fabric doilies that I used to make my necklace.

DIY | Everybody, Everywear

Tuesday, September 27, 2011

The 90's Called and They Want This Outfit Back

whatiwore.09.27.11_3
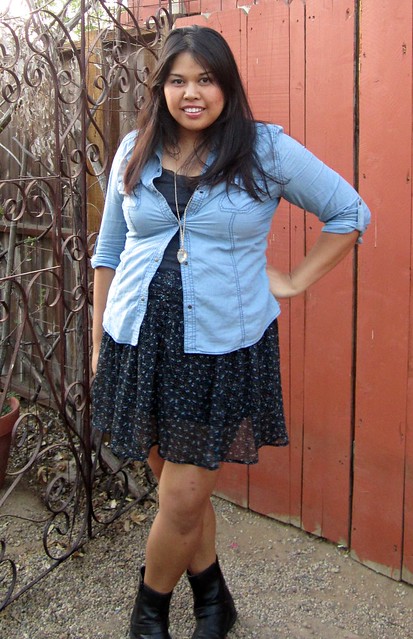
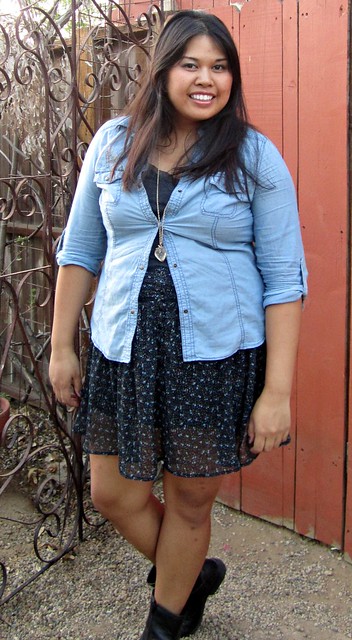
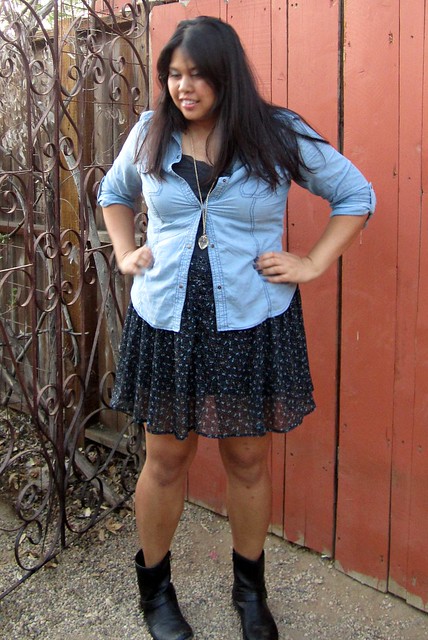
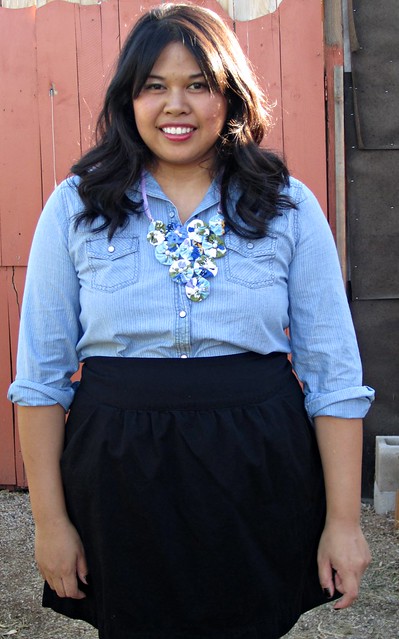
Chambray Button-Up and Tank (underneath): Old Navy
Skirt: Charlotte Russe
Necklace and Boots: Forever 21

whatiwore.09.27.11_2

Sunday was the first day I broke out my boots which might have not been the best idea because later on it got really warm. I know talking about the weather is the most boring topic to blog about, but I'm seriously looking forward to cooler weather and I'm tired of this never ending heat. Right now it's 97 degrees. So not fall weather. This outfit is the total opposite of my last outfit post. Channeling some 90's grunge/hipster with this one. I wish I wore something like this in middle school instead of some of the unfortunate outfit choices I made back then. I remember spending a good part of 7th grade wearing baggy jeans, flannel and boots. Not really that flattering.

 whatiwore.09.27.11_4

Anyhoo, I finally finished some sewing projects with one of them I'm extremely proud of. I'm catching up on my reading by trying to spend at least 30 minutes reading and away from the computer, which can be such a time waster (I have a slight Tumblr addiction). I'll be done with Bossypants and will start reading The Hitchhikers Guide to the Galaxy next. Also have some other things to post about, just have to make sure procrastination and laziness doesn't get a hold of me.


Saturday, September 10, 2011

That's Crafty! - How To Make Fabric Doilies

Last month, I wrote about the necklace I made from fabric doilies. I ended up getting a request from Jennifer of One Girl Geek on making a tutorial for it. So here it is!


What you'll need:
  • fabric (preferably cotton or cotton/blend)
  • needle and thread
  • some heavy paper or poster board
  • various circular lids
  • pencil or pen
  • scissors
  • straight pins (optional)


 Step One
Gather various sizes of circular lids (you can even use old cds) and trace the pattern on heavy paper or poster board. This will make the patterns last longer. I used old paper dividers for my patterns. You can make the patterns as big as you like but for smaller circles you don't want to go smaller than 2 3/4". Anything smaller will make it more difficult to assemble. Cut out the patterns.


Step Two
Lay the fabric on a flat surface and trace the patterns out with a pencil. You can also use a ball-point pen since the markings won't show, but don't use a marker since it will bleed into the fabric. Try to get the patterns as close as you can so you don't have lots of fabric remnants. The leftover fabric can be used for other projects or if you have a covered-button maker, you can use the scraps to make buttons for the middle of the doilies. You can make the doilies out of lace, tulle or any other lightweight fabric, but you'll have to stack the fabric on top of each other and pin the pattern to the fabric and cut around it. 


Step Three
Once you cut out the fabric, grab your needle and thread. As with any sewing project, you want your thread to match the fabric. It's also important that you have a really good medium sized knot. Anything smaller will break through the fabric as you are gathering. Also be careful with the needle. I have poked myself a few times and it's never fun. 
Your going to fold over a small piece of the fabric and do a running stitch. As you are doing this, you'll gather the top fabric together. Keep doing these two steps until you reached the starting point of the stitch.


Step Four
Once you reached the starting point of the stitch, make sure the gathering is tight. Once that is done, run the needle from one of the gathers to the center a few times just make sure it won't unravel. After knotting it two-three times, you have yourself a doily.


You can use them to make necklaces, or depending on the size, you can even use them to make pillow covers, coverlets or even as clothing. This is also a good way to up-cycle a favorite piece of clothing that is beyond repair. The possibilities are endless! 


If you do decided to make these doilies e-mail me pictures and I'll post them on the blog. I would love to see to what you craft out of them!


Thursday, August 4, 2011

Getting Crafty

whatiwore.08.04.11_2
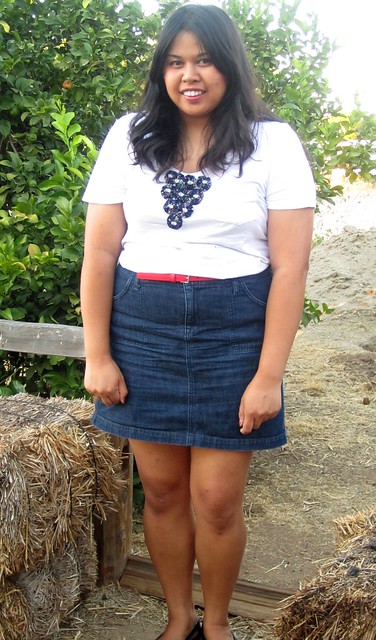
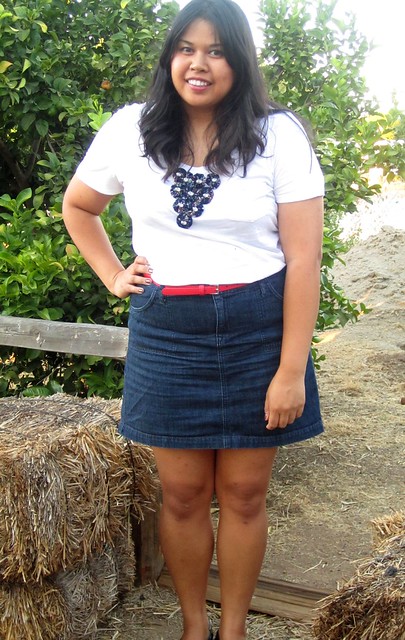
Tee, Tank (underneath), denim skirt and belt: Old Navy
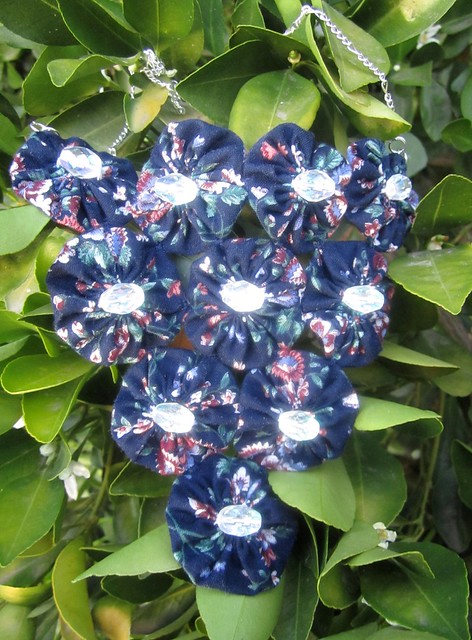
Necklace: Handmade
Sandals: Payless

whatiwore.08.04.11
 I might have to blame the Doctor on my burst of creativity this past week. You see usually when I'm at home watching TV I have to do something to keep myself busy but not be distracted from what I'm watching. But I don't know how to knit and cross-stitching would require more focus. So while on my Doctor Who marathon, I decided to make some necklaces out of fabric doilies. 

When I was younger, one of the first sewing projects my mom taught me was making this circular fabric pieces that she called doilies. Basically what you would do is take a piece of circular fabric and while folding the edges you would do a running stitch along the fold. I thought it was the coolest thing ever and I would make a bunch of them. But never really knowing what to do with them, they sat unused.
Then last year I saw a necklace on Madewell's site and thought, I can make something like that. So I bought some chain and findings but I still didn't do anything with it. It wasn't until last week that I decided to finally make a necklace and it has been non-stop ever since.

 Handmade Necklace

The one I'm wearing is the first one I made and I'm really proud of it. It goes to show that you can make a basic tee look less than casual with a standout piece of jewelry. I even found a box of fabric that I haven't gone through since our family moved 7 years ago. So I'll be experimenting with different fabrics and designs. Maybe this can even be another Etsy venture for me along with some other crafting ideas I currently have in mind. We'll see about that.